Concrete milling machine: how to use it?
For large-scale construction projects as well as smaller renovations, concrete often plays a key role as a building material. Sometimes it needs to be modified, leveled or repaired to meet specific requirements. When this is the case, it's a good idea to have a concrete milling machine on hand for precise, efficient processing of concrete surfaces, providing a smooth and even base for further work. Want to rent such a tool for your project? Check out how to use it properly!
Step 1: Preparation
Before working with a concrete milling machine, it is essential to prepare the space. Start by making sure the surface to be milled is clean and free of debris. Remove any loose objects, such as stones or nails, that could impede the milling process or cause damage to the machine. It is also important to wear appropriate protective gear, including safety glasses, gloves and a dust mask, to protect yourself from dust and debris.
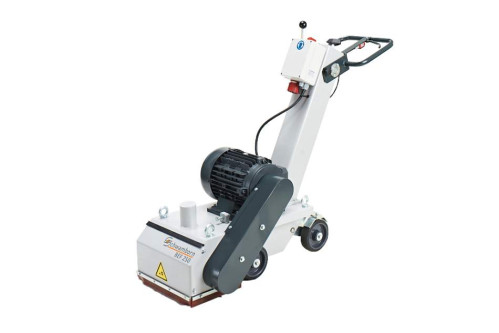
Step 2: Adjust the machine
Familiarize yourself with the concrete milling machine and its controls. Adjust the milling depth according to the desired result. The key here is to set the right depth to avoid removing too much concrete or leaving an uneven surface. Most machines have adjustable handles and wheels for easy maneuvering. Make sure the machine is well maintained and in good working order before continuing.
Step 3: Milling technique
When the machine is adjusted and ready, you can start the milling process. Start by setting the machine at one end of the concrete surface. Slowly drive the cutting drums or blades into the concrete. It is important to maintain a steady and even pace to achieve consistent results. Avoid excessive pressure or pushing, as this can strain the machine and lead to suboptimal performance.
Step 4: Overlapping runs
Overlapping passes are necessary to ensure accurate milling and a smooth finish. Moving the milling machine forward, overlap each pass by about 20-30% to ensure complete surface coverage. Overlapping passes help eliminate any bulges or inconsistencies left from previous passes, resulting in a uniform and even surface.
Step 5: Cleansing
Clean the area after the milling process is complete. Use a broom or vacuum cleaner to remove any loose dirt or dust created during the milling process. Proper cleaning is essential to maintain a safe working environment and prepare the surface for subsequent steps, such as replacing concrete or applying a new flooring system.